Quick-start guide
Follow the steps below to create a collection and upload documents into the LookUp UI.
Step 1: open LookUp UI
Open the LookUp UI in OneReach.ai.
Step 2: create a collection
- Click Create collection.
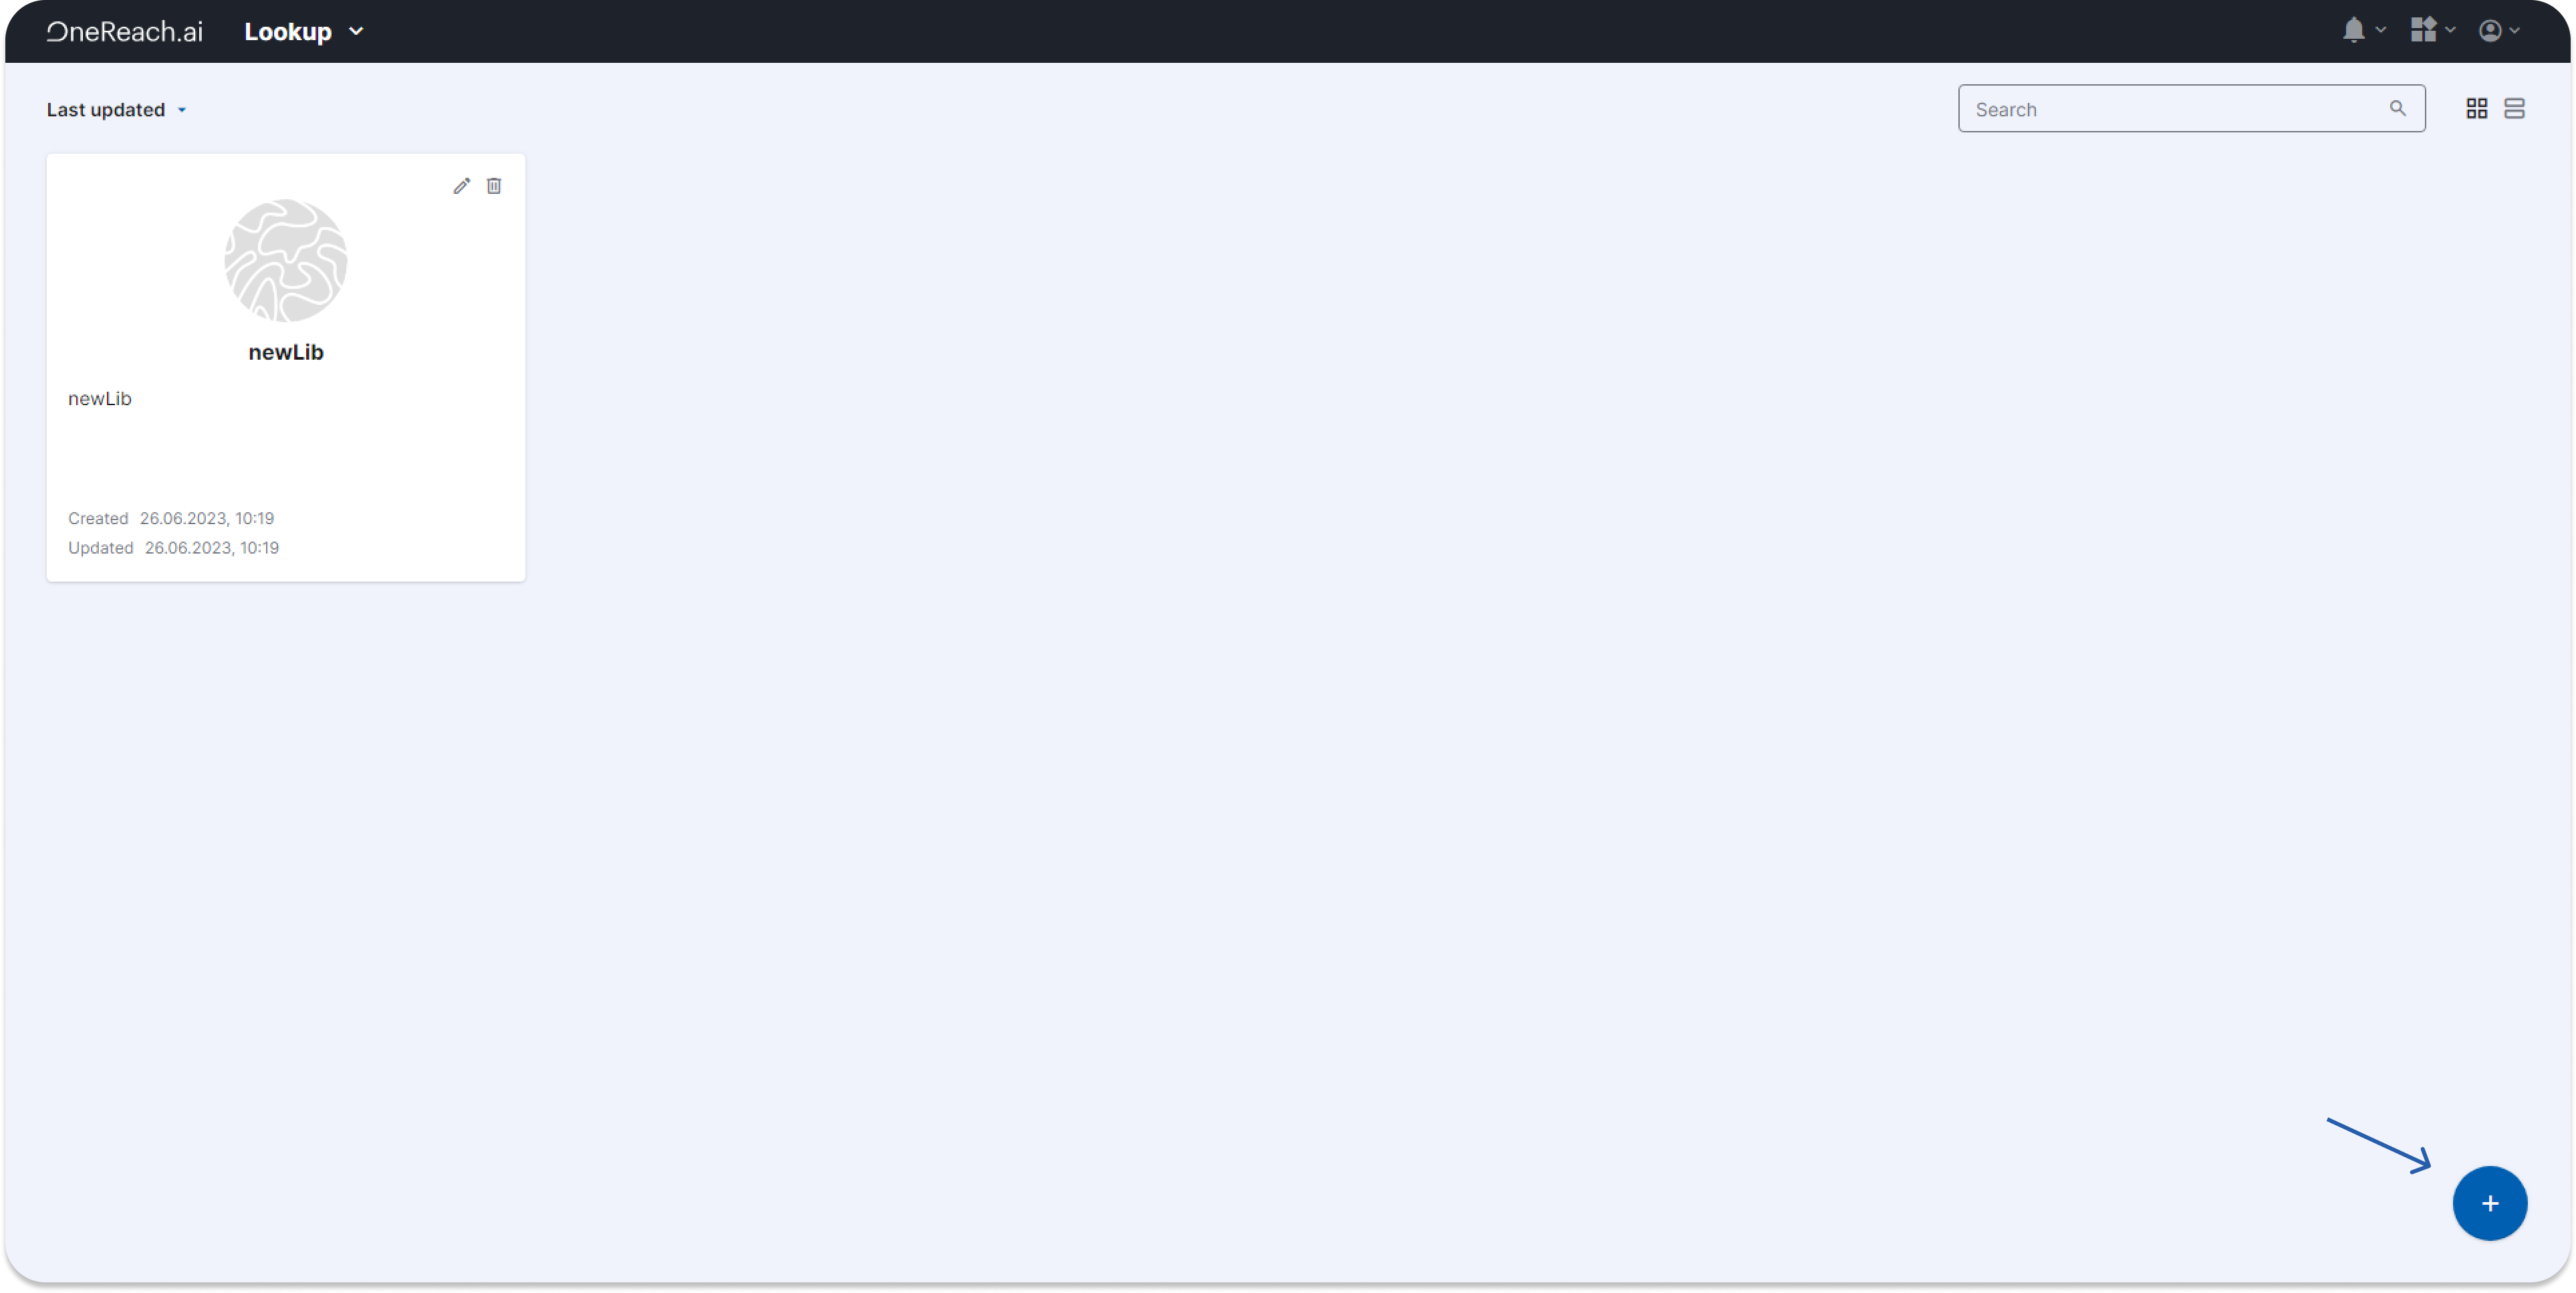
- Enter a name for your collection and click Create.
Step 3: add documents
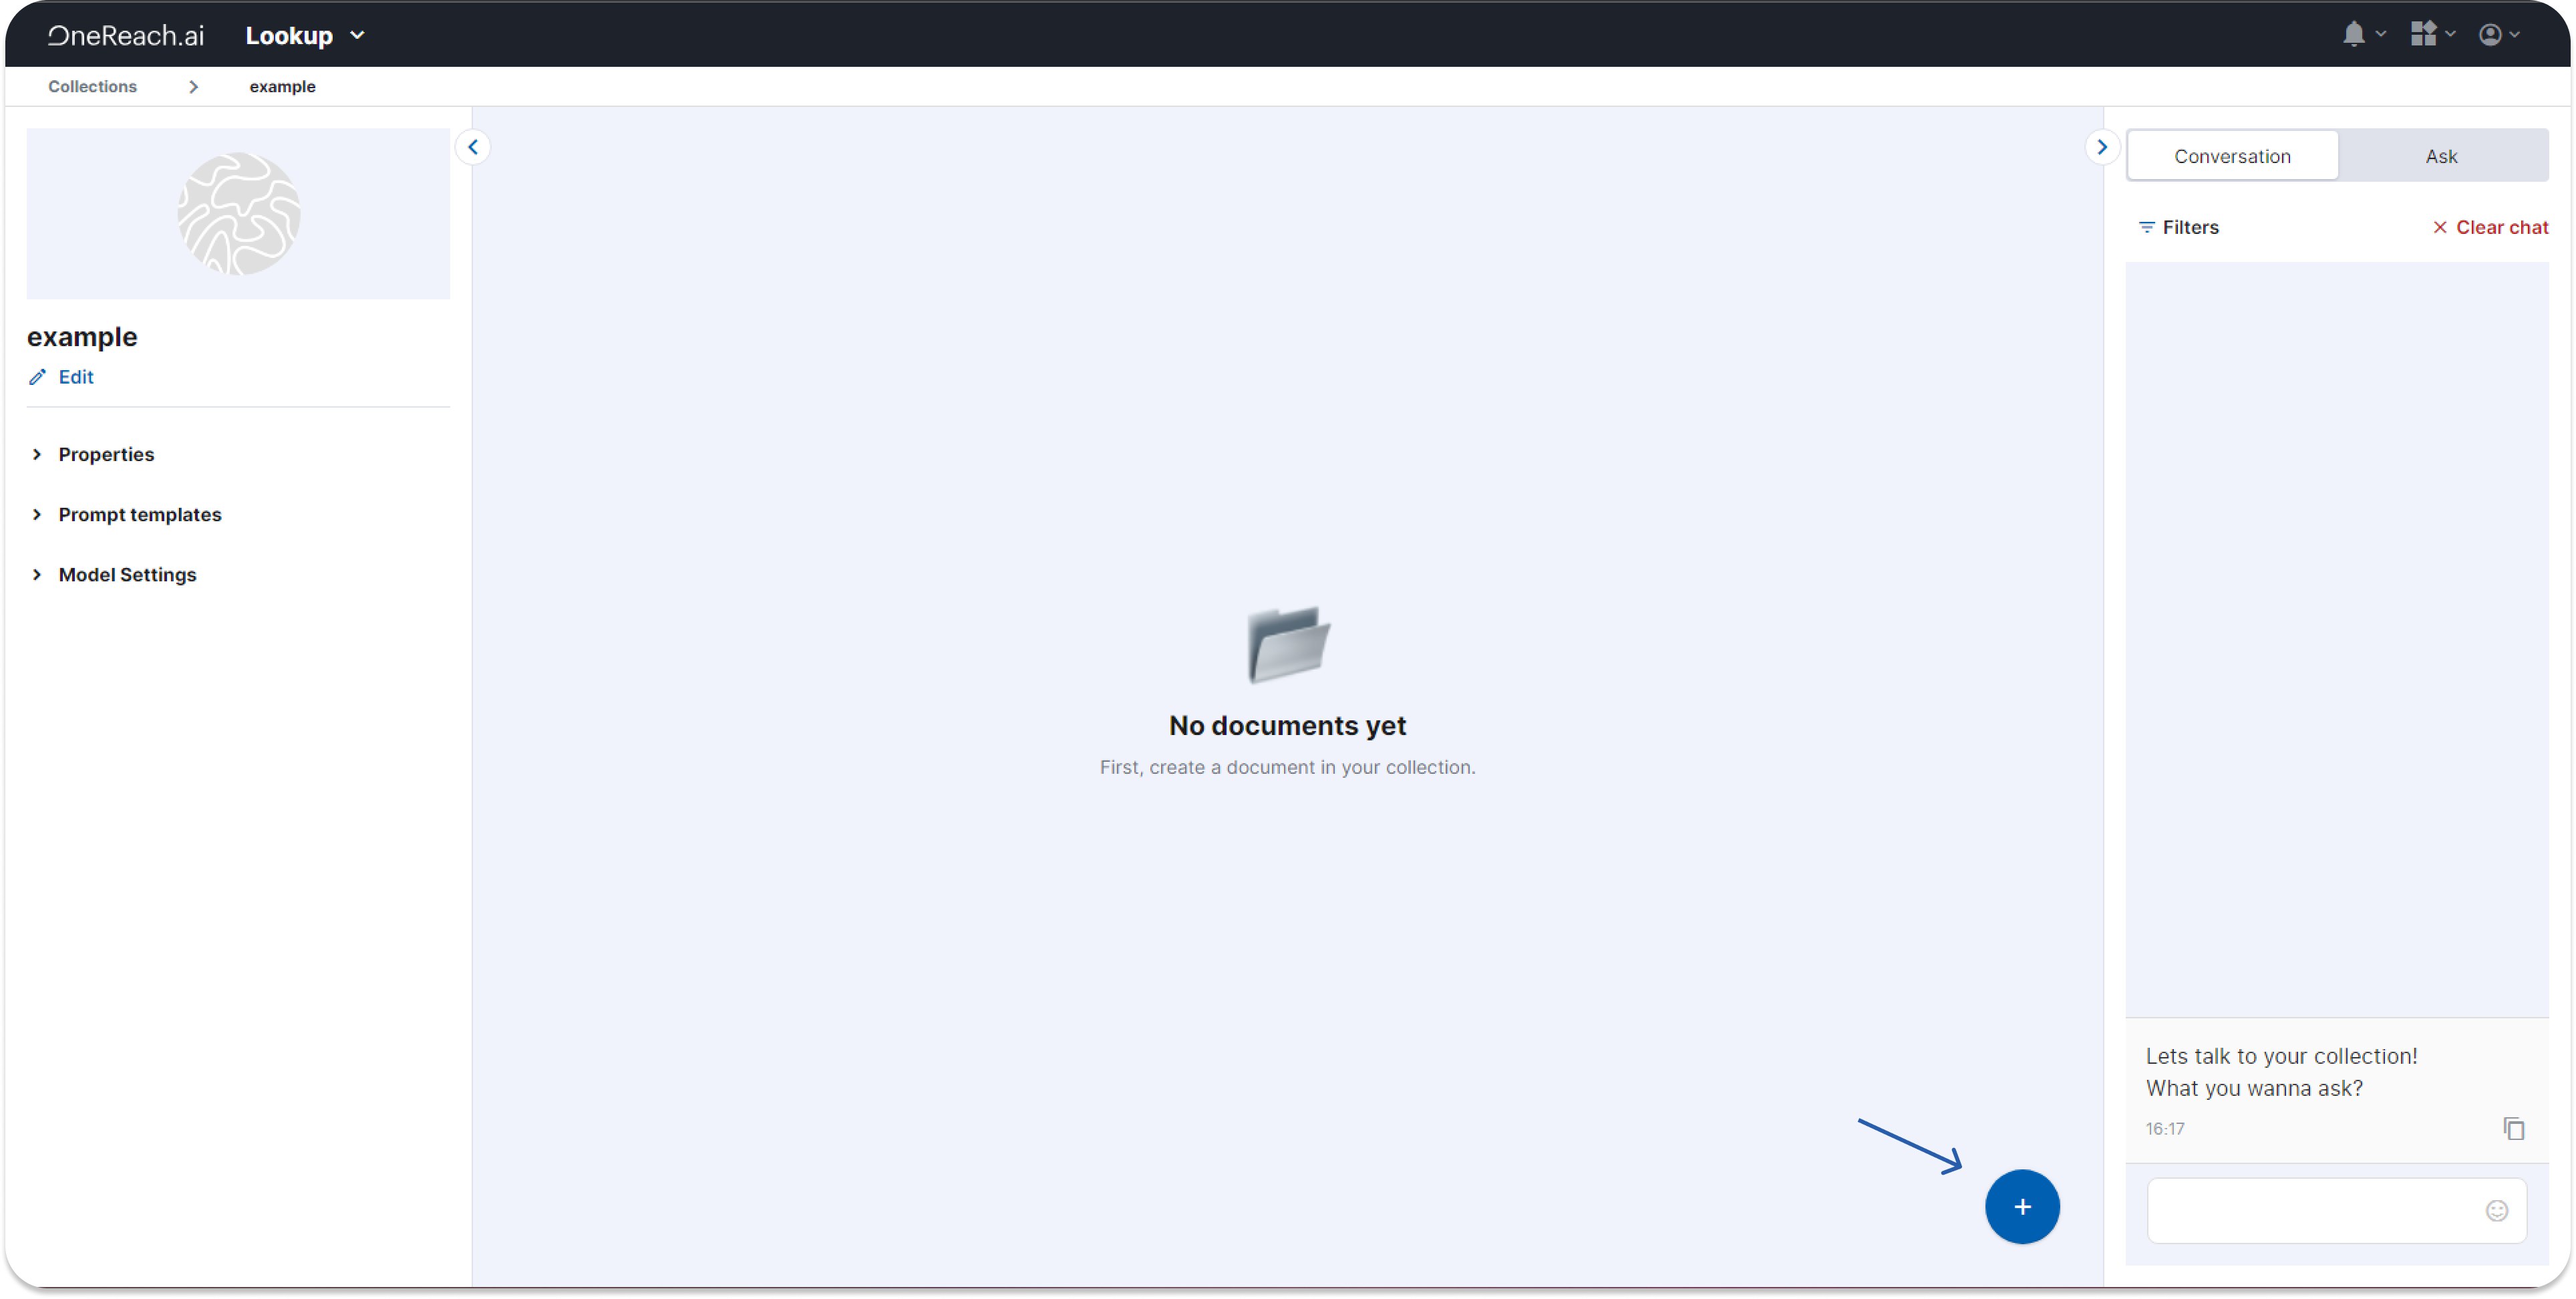
- Once the collection is created, you can start adding documents. To do that, click Add document.
- You can add a document by providing a URL or uploading a file from your computer. If you provide a URL, the LookUp system will download the content, split it into passages, and add them to the collection.
Step 4: process documents
- After adding the document, the system will start processing it. This may take some time depending on the size of the document.
- Once the document is processed, its passages will be added to the collection and will become searchable.
Step 5: add more documents
- You can add more documents to the collection by repeating steps 3 and 4.
Step 6: manage properties
- To add properties to the collection, click Properties, then click Add properties.
- Enter the name, datatype, and optional description for the property, then click Save.
Step 7: test collection
- You can test the collection by entering a search term or question in the Test chat on the right side of the page. The system will return the most relevant passages from the collection.